I’ve switched fro using vinyl to cover the foam of my table. I now use contact paper and I love it! It’s so much easier to access the bobbin are for cleaning now.

Simply Done

I’ve switched fro using vinyl to cover the foam of my table. I now use contact paper and I love it! It’s so much easier to access the bobbin are for cleaning now.
There’s nothing more rewarding to someone like me, who puts everything in their work, to receive a note like this one:
Hi Marguerita,
I have been wanting to thank you for writing Crazy Shortcut Quilts. I bought your book years ago before I learned to quilt. Because of your book I have a passion for quilting. I am so blessed to have found something that brings me so much joy. It is an excellent book for beginners. Since then I have advanced to longarm quilting. I still use your method for baby blankets and t-shirt quilts for family and friends. The only difference is that the center panel is a large animal applique with the baby’s name. I digitize my applique using embroidery software. I attached examples. They are not my best work, but you get the idea. My best ones are on another computer.
Anyway I want you to know you have made a significant difference for the good in my life.
Best regards,
Deb W
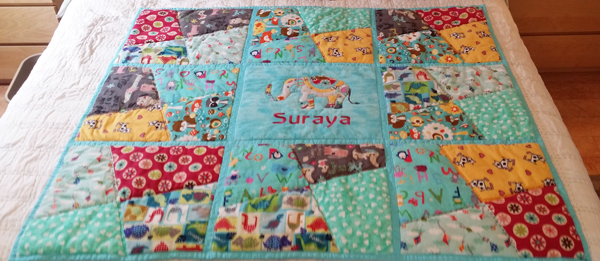
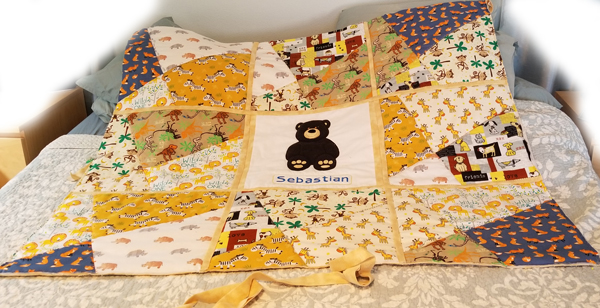
I LOVE the idea of the embroidered center block! Thank you so much Deb, for your wonderful note and photos of your lovely quilts!
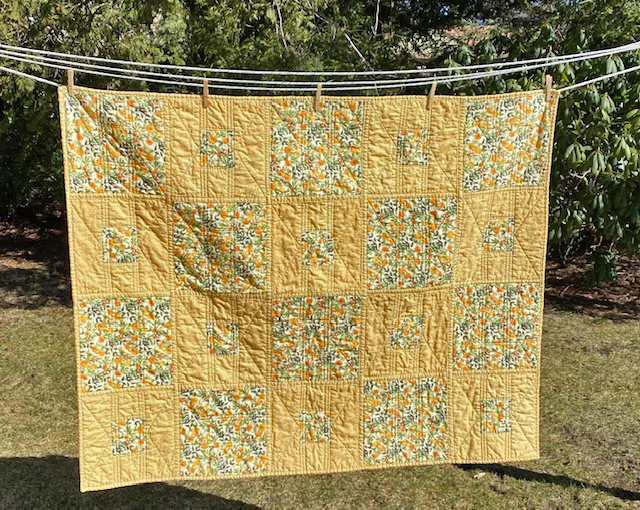
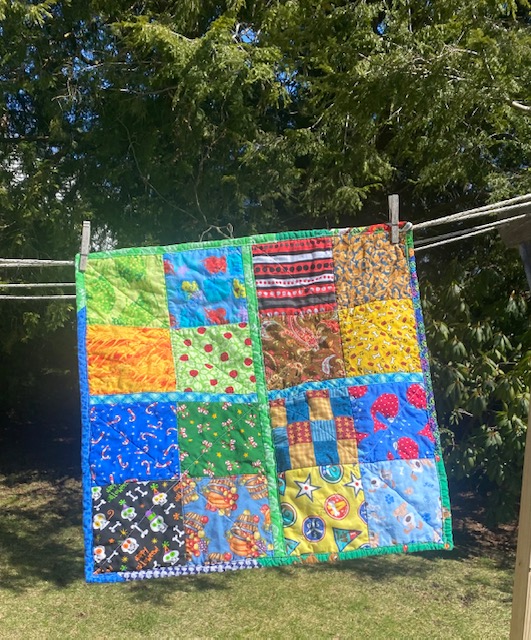
I recently received this note, and pics of TWO of her quilts! Thank you Lynn for thinking of me and sharing your quilts 🙂
I emailed you a year ago January asking for guidance on this quilt. Just thought I would share the finished project pictures. I learned so much doing this quilt! Thank you so much.
Lynn
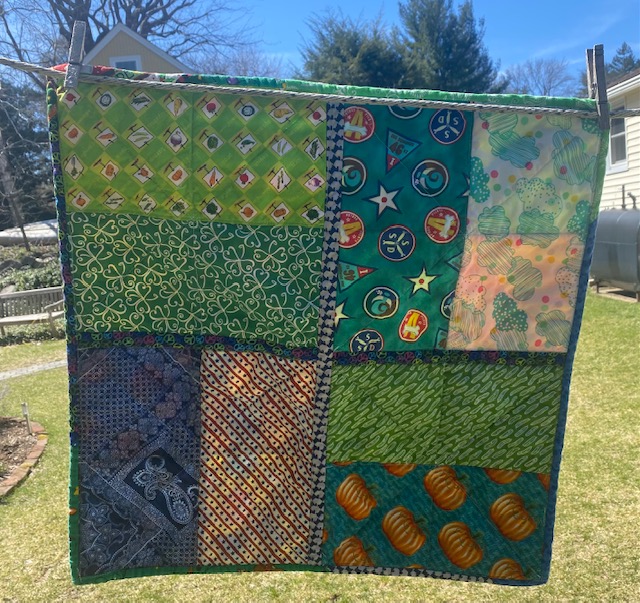
Thought I would share another that I made using your book. This was a memorial quilt for a dog that died in January. I made it using his bandanas. He had 35 bandannas!, one of which he wore every day. It was really fun to make.
Thank you again for your great book.
Lynn
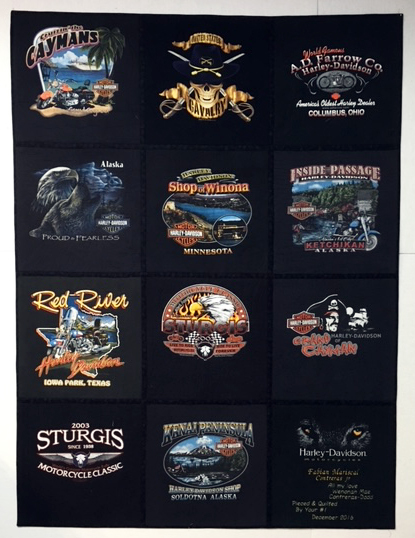
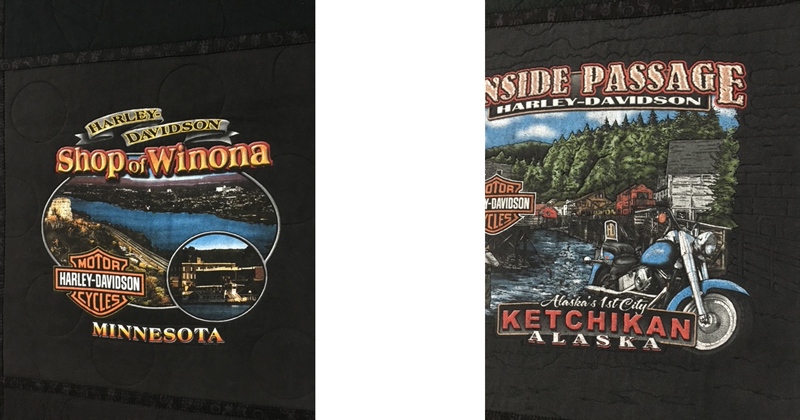
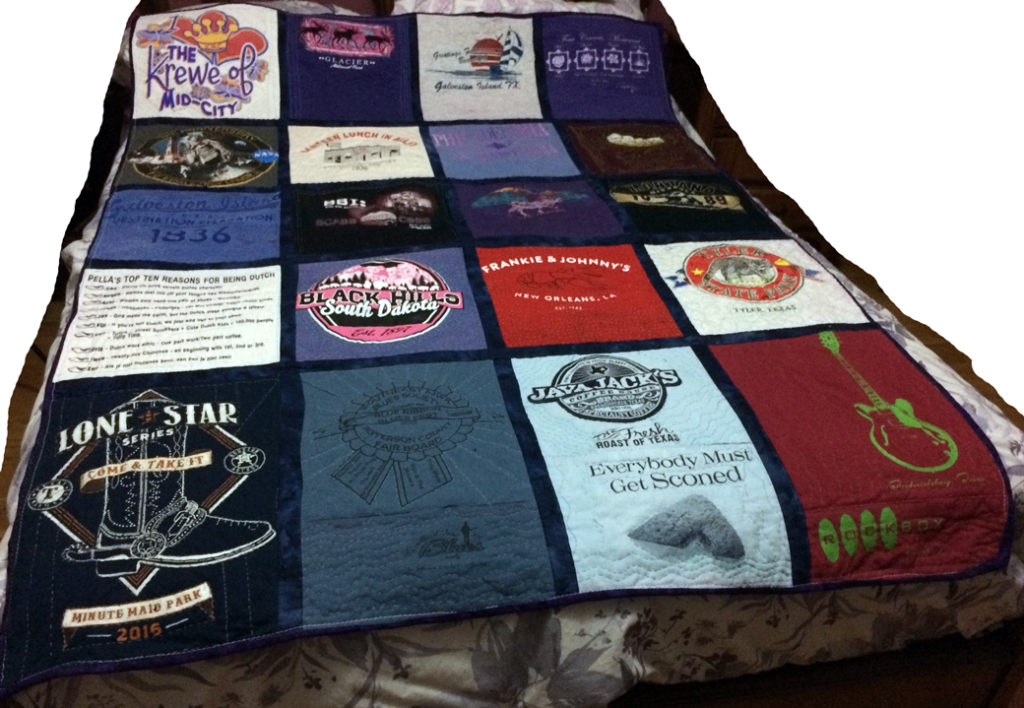
Wenonah’s dad loves his Harleys! He’d collected T-Shirts from many places and Wenonah put them together into this quilt, which he uses and loves. She also helped me tremendously when I was writing my T-Shirt Quilts book, by arranging a quilting retreat with friends and they all tested stabilizers!
Below are a couple of close-ups of the T-shirts. Wenonah lived in Alaska at the time the book was written but has since moved to Ohio to be closer to her parents.
Wenonah was one of the first quilters to share a photo of her “Crazy Shortcut Quilt” when we first released that book (2007) and I was astonished to find out that we both lived in Alaska. Over the years we’ve met up, gone to retreats (she’s the organizer), swapped photos and emails and had a lot of quilting fun. She has the best friends and I am grateful to be counted among them. ~Marguerita
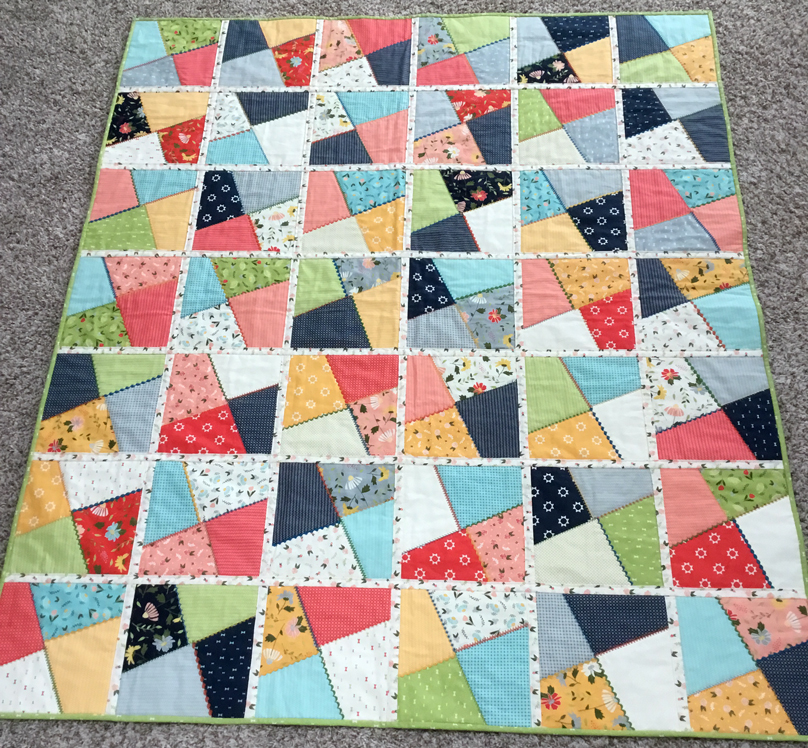
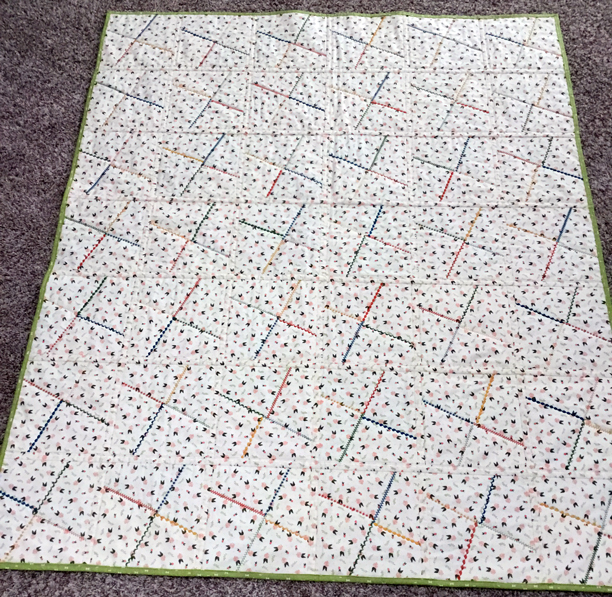
Hi Marguerita,
I reached out to you in 2019 with a question about the crazy shortcake quilt I was starting to make for my mother’s birthday. You quickly responded and were very encouraging and supportive. It meant a lot.
Unfortunately, my mother passed away a few months before her 97th birthday and I put the quilt away without finishing it. However, as I recently had my machine out to work on covid masks, I decided to pull out the quilt and try to finish it. I thought you might like to see the end product. Thanks to you, I successfully made my very first quilt!
Stay safe!
Susan H

Thank you for your book! I just finished my quilt… not perfect, but good enough. I used fleece fabric for backing/stuffing. Makes it a light-weight throw. I’m including a pix.Thanks again – your book took me through step-by-step.
Mary
I love how Mary up-sized the various t-shirts to make them all the same size, with multiple borders if needed, which brings a lovely mix of colors to her quilt. ~Marguerita
This is not the first time Janet V. has sent me a photo of a T-Shirt quilt! Here’s her note:
Here is the front of my first quilt used with starched t-shirts! These were shirts we bought when we were traveling in the rv!!!
I finally found liquid starch at Walmart! Couldn’t find starch except the spray ones! I really liked the starched t-shirts! They were so much easier to use!

Look at those decorative stitches! We always have fun in class learning to use those gorgeous stitches and pretty threads to do the quilting on our “crazy cut” blocks. Thank you Cheryl for sending a photo to share with everyone!
I have to say, my jaw dropped at Brian’s adaptations to my “cheap (foam) custom table”. Here’s his story and it’s a great read! He’s a sewist, innovator, and great writer!

Marguerita,
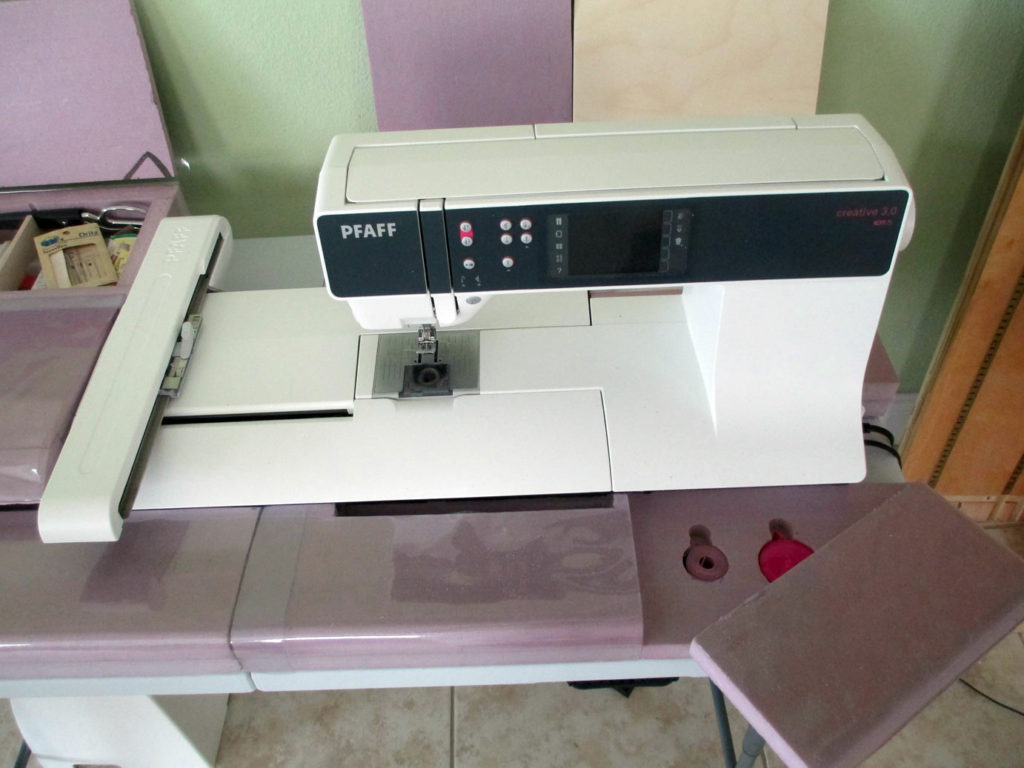
Brian’s Pfancy Pfaff Pfewing Mapfhine Table
I’m not really a quilter, but, when I bought a Pfaff Creative 3.0 and I wanted a better table than the coffee table (which I knew was not a good ergo work table and hated with a passion) that I had been using for my Pfaff 1222, so I Googled and found your table. I won’t say that I ran with it, I ran, swan, flew and did a triathlon with it. I liked the table, the idea, the ergo and the materials, but couldn’t stand the idea of all that potential storage space going to waste and needed to adapt for the embroidery mechanism, so here’s my version of your table, to fit a Pfaff Creative 3.0, with storage and adaptable for the embroidery section:
It’s made of half-inch (actually 5/8”) and one inch foam with some 1/4” birch plywood. I used the vinyl for all lid hinges. Some of the sections are held on the table by Command Strips that are like Velcro—I can fold the table with some of the sections still on, good for travel. And before you ask (he said innocently), no, I didn’t intend to have the panther on the lids, I can’t imagine (grins) why you’d ask. Actually, the panther insisted that as long as he was going to be involved, he wanted to be able to watch and make sure I was doing things correctly. On most sections, the vinyl can be flipped up and notes & stuff placed under it.
I was prepared to drill additional holes in the legs for the height adjustment, but didn’t need to—according to what I learned in the aerospace industry, as little as an inch can make a huge difference in ergo comfort
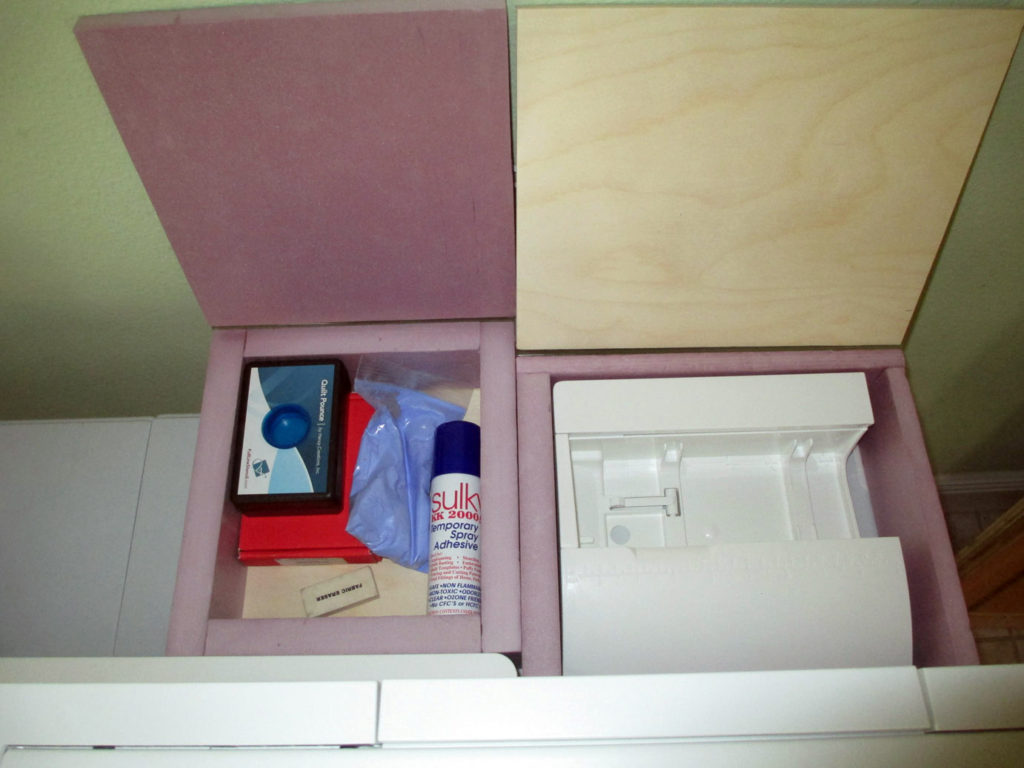
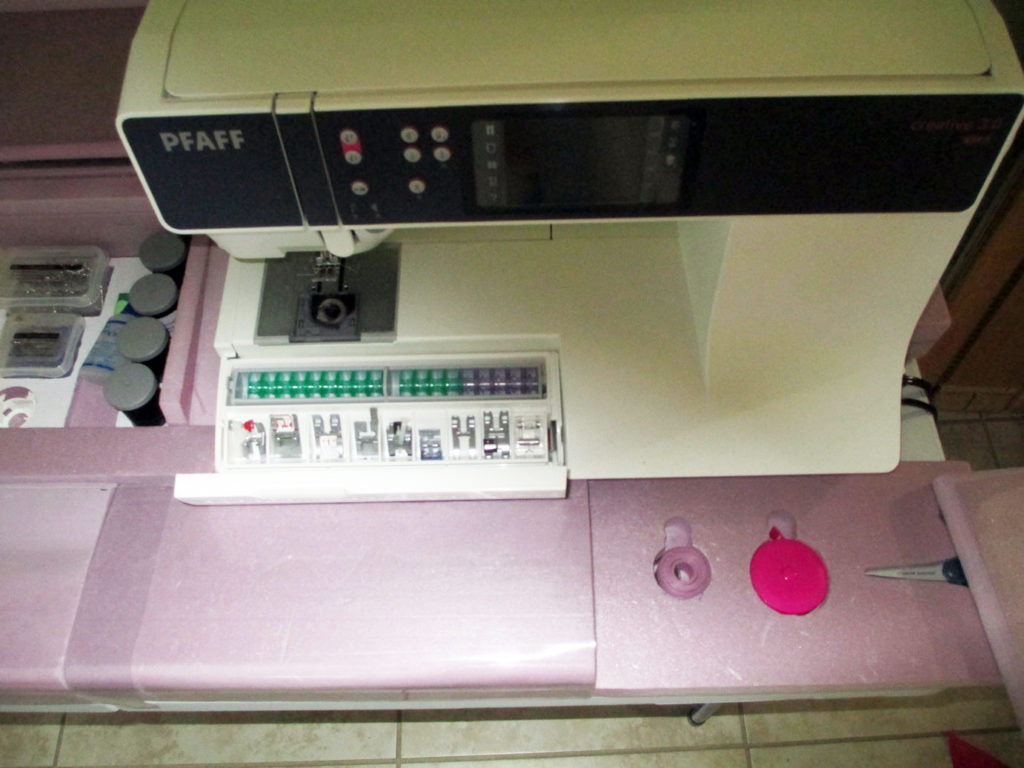
The area to the left of the machine is thread and general storage, with 36 pins to hold spools and bobbins (I found some nice bobbin holders that fit on spools). It is also shadow-boxed for the things that are not thread. This section (and the section behind it) slide to the left when using the embroidery mech. I had to shape the lid of this section to match the curve of the machine.
The area in front of the machine I didn’t do anything with as it will be supporting (occasionally) my arms and will take the brunt of things sliding over the table. It had to have a portion under the normal machine table excavated for the machine’s storage compartment lid.
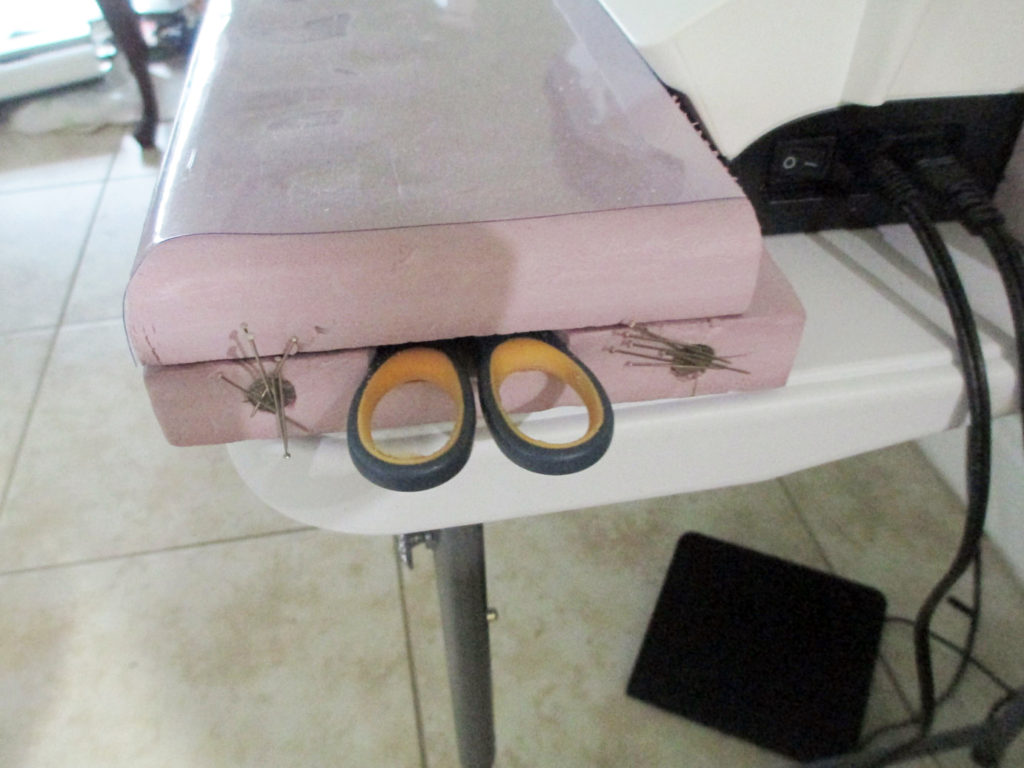
The area to the right and in front of the machine has to have access to the feed-dog control knob, so part of it is removeable and under it is a space for two tape measures and thread scissors. With magnets on the end to hold pins and magnets for a pivot so the lid can be removed. This section sets the front position of the machine.
To the right of the machine is a block that sets the position of the machine.
The area behind and to the right of the machine is a space where I put the normal machine table when I use the embroidery mechanism. This also sets the position of the machine.
The area behind where the embroidery mechanism goes was hardest, it must have clearance for the mechanism, which is a different height (and under-side) and width than the regular machine table and have the height & space for the machine table, too. The two sections have some general storage.
All the sections have vinyl tops which can be lifted to place notes or such and still be protected.
Many re-dos and changes of design, but, of course, I didn’t make any mistakes— I meant to do that!. I learned that from my cat. ;^)
Thank you for inspiring me.
Brian S

I rearrange my spaces all the time, but in fifteen years I’ve never taken my foam away. I’ve changed a bit, cutting it, moving machines, and adding contact paper instead of heavy vinyl, but the basic blocks are still the same and I still love it so much that I won’t sew without it.
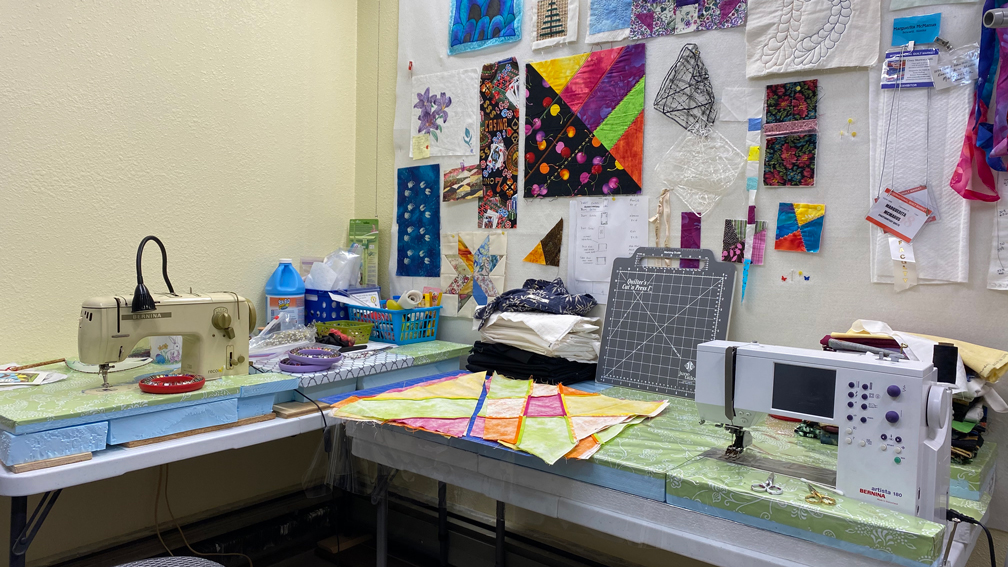
You’ll never see a pretty, staged, photo of my space – this is my reality, where I sew and quilt, mend clothes and play.
I was inspired to post again because I recently received this lovely note from Kevin in Iowa:
I’m a retired guy. Decided to learn to sew, make curtains, place mats, maybe quilting squares someday. Just bought a Brother CS7000X & was looking for an ergonomically correct table setup. Searched online & found your 2008 blog post & YT videos using folding table & beadboard insulation. Brilliant! I was thinking about building a wooden sewing cabinet but your idea is less expensive & more adaptable. Looking forward to visiting your website again as I build my sewing skills.
Hope time has been kind to you & your family & you’re staying healthy during the pandemic. Thanks for working out a clever solution & helping others like me.
Kevin K, Iowa
If you’ve never seen them, here are the videos about how and why I created this “cheap” custom table for sewing and quilting – http://www.youtube.com/playlist?list=PLBF5C338341F28BF9&feature=view_all
