I have to say, my jaw dropped at Brian’s adaptations to my “cheap (foam) custom table”. Here’s his story and it’s a great read! He’s a sewist, innovator, and great writer!

Marguerita,
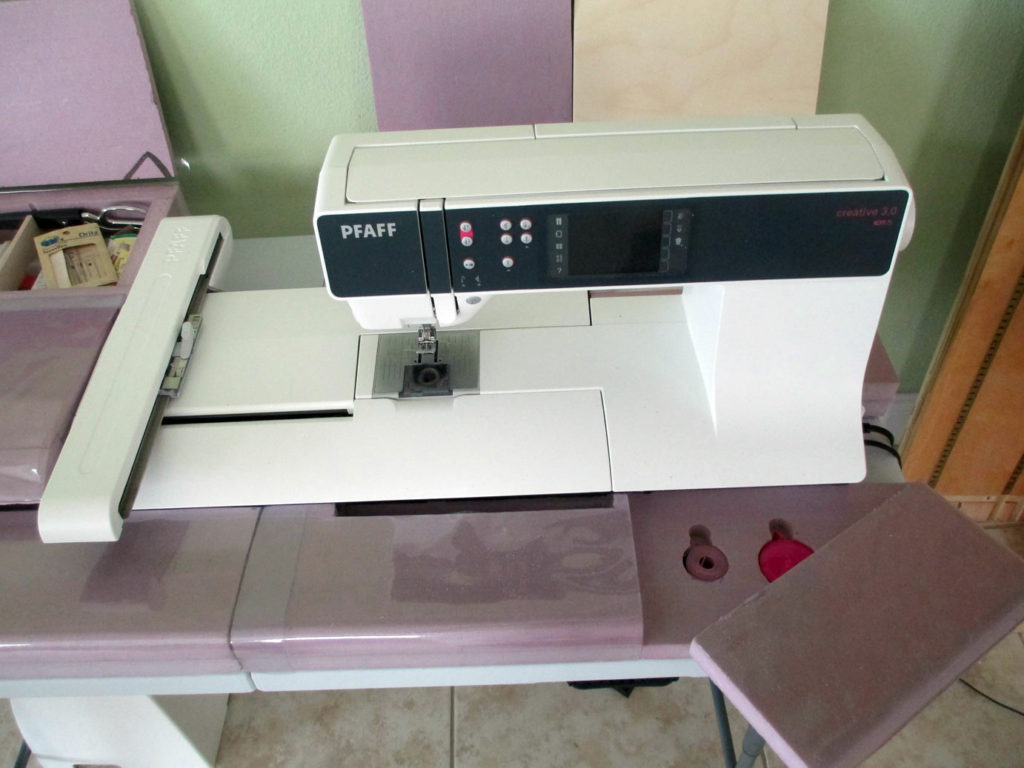
Brian’s Pfancy Pfaff Pfewing Mapfhine Table
I’m not really a quilter, but, when I bought a Pfaff Creative 3.0 and I wanted a better table than the coffee table (which I knew was not a good ergo work table and hated with a passion) that I had been using for my Pfaff 1222, so I Googled and found your table. I won’t say that I ran with it, I ran, swan, flew and did a triathlon with it. I liked the table, the idea, the ergo and the materials, but couldn’t stand the idea of all that potential storage space going to waste and needed to adapt for the embroidery mechanism, so here’s my version of your table, to fit a Pfaff Creative 3.0, with storage and adaptable for the embroidery section:
It’s made of half-inch (actually 5/8”) and one inch foam with some 1/4” birch plywood. I used the vinyl for all lid hinges. Some of the sections are held on the table by Command Strips that are like Velcro—I can fold the table with some of the sections still on, good for travel. And before you ask (he said innocently), no, I didn’t intend to have the panther on the lids, I can’t imagine (grins) why you’d ask. Actually, the panther insisted that as long as he was going to be involved, he wanted to be able to watch and make sure I was doing things correctly. On most sections, the vinyl can be flipped up and notes & stuff placed under it.
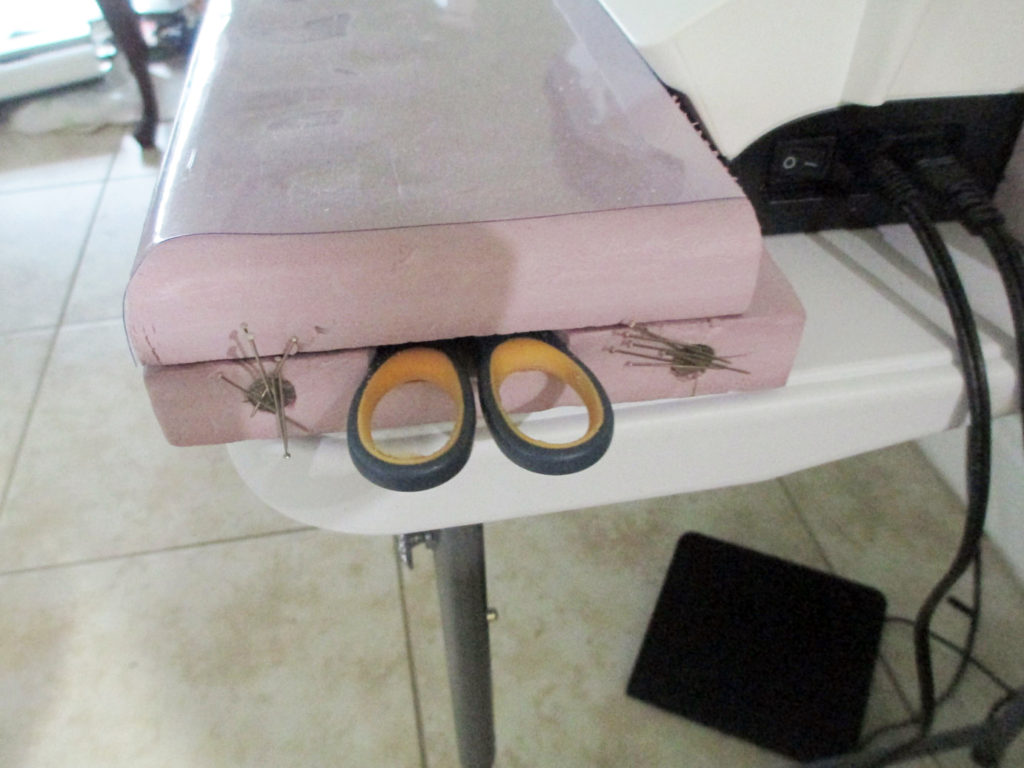
I was prepared to drill additional holes in the legs for the height adjustment, but didn’t need to—according to what I learned in the aerospace industry, as little as an inch can make a huge difference in ergo comfort
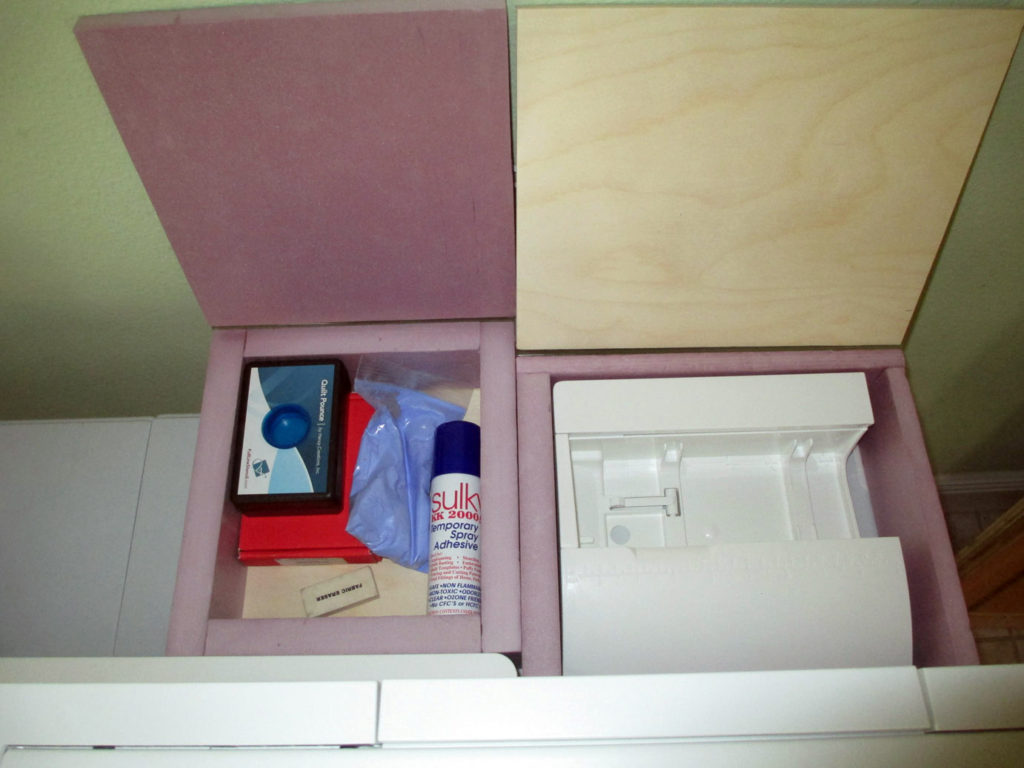
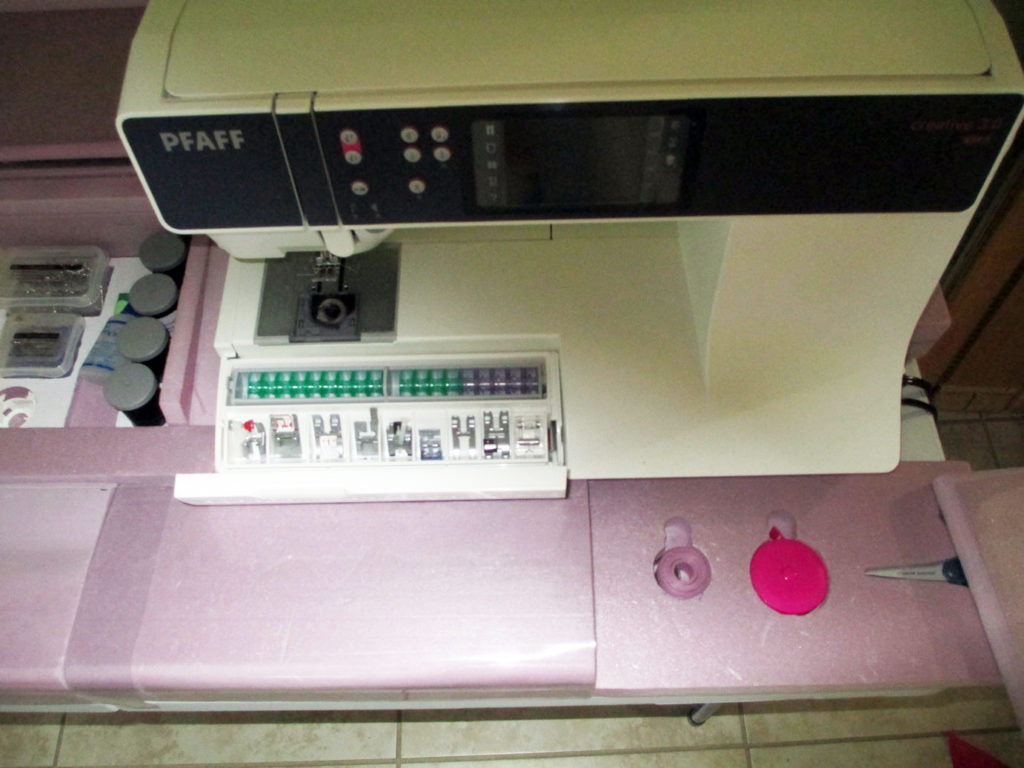
The area to the left of the machine is thread and general storage, with 36 pins to hold spools and bobbins (I found some nice bobbin holders that fit on spools). It is also shadow-boxed for the things that are not thread. This section (and the section behind it) slide to the left when using the embroidery mech. I had to shape the lid of this section to match the curve of the machine.
The area in front of the machine I didn’t do anything with as it will be supporting (occasionally) my arms and will take the brunt of things sliding over the table. It had to have a portion under the normal machine table excavated for the machine’s storage compartment lid.
The area to the right and in front of the machine has to have access to the feed-dog control knob, so part of it is removeable and under it is a space for two tape measures and thread scissors. With magnets on the end to hold pins and magnets for a pivot so the lid can be removed. This section sets the front position of the machine.
To the right of the machine is a block that sets the position of the machine.
The area behind and to the right of the machine is a space where I put the normal machine table when I use the embroidery mechanism. This also sets the position of the machine.
The area behind where the embroidery mechanism goes was hardest, it must have clearance for the mechanism, which is a different height (and under-side) and width than the regular machine table and have the height & space for the machine table, too. The two sections have some general storage.
All the sections have vinyl tops which can be lifted to place notes or such and still be protected.
Many re-dos and changes of design, but, of course, I didn’t make any mistakes— I meant to do that!. I learned that from my cat. ;^)
Thank you for inspiring me.
Brian S