Tom and I were sharing mask ideas when he came up with the idea of a paperclip nose piece for masks and it’s genius. The nose piece is important because the goal of the mask is to be snug to your face.
We have been training with PPE for almost 20 years and we understand its importance and how to properly don and remove it.

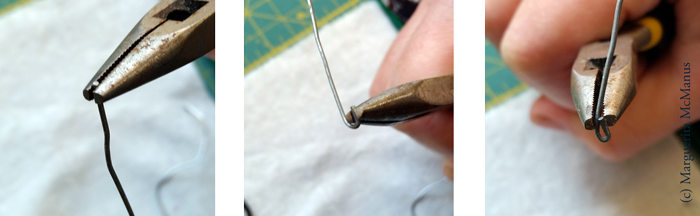
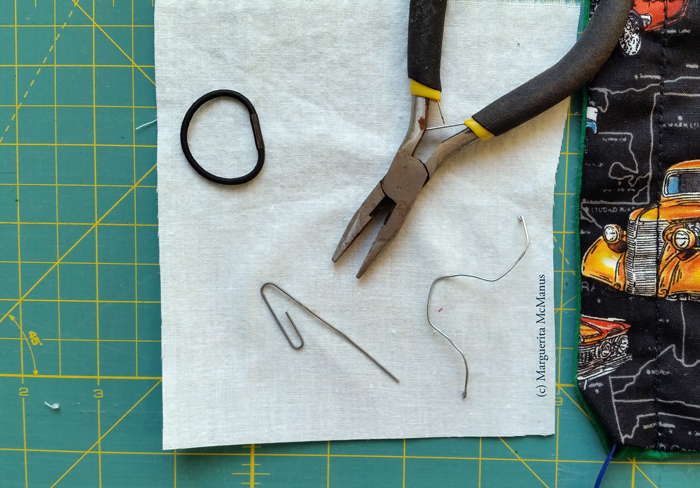
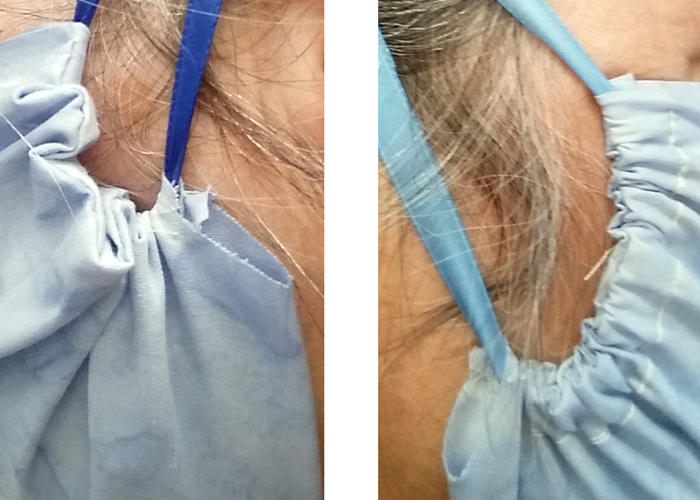
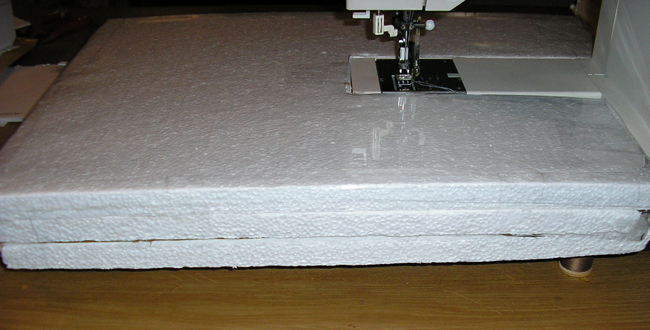
To make, straighten a regular (not jumbo) paperclip and use a needle-nose pliers to turn the ends under. Slip the straightened metal into the hem of a cloth face mask and center, then form the curve with your thumbs. Try the mask on to see how it fits and continue to bend the metal until the fit is snug against the bridge of your nose.